Programs Needed
- Paint Shop Pro
Tutorial
- Open Paint Shop Pro.
- Open your image.

- Select the Magic Wand Tool.
- Go to View > Palettes and select Tool Options if it is not already selected.
- On the Tool Option Palette, change the Tolerance to "20".

- Using the Magic Wand Tool, select the background area of your image. It may take you a few clicks, and it doesn't have to be perfect.

- Select the Selection Tool.
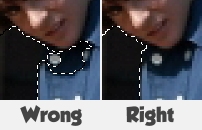
- Zoom in on your image and use the Selection Tool to select and deselect parts of the image that were not selected previously or were wrongly selected. Do this until you have only the background selected.

- Go to Selections > Invert.
- Go to Selections > Modify > Expand.
- If you have a small image, change the number of pixels to "1". If you have a larger image, use a larger number (3 or 4 at the most). Click OK.

- Go to Selections > Modify > Feather.
- If you have a small image, change the number of pixels to "5". If you have a larger image, use a larger number (around 10 at the most). Click OK.

- Go to Edit > Copy.
- Go to File > New.
- Make the height and width the same as the original image's dimensions. Click OK.
- Select the Flood Fill Tool.
- Fill in the background with the colour of your website's background.
- Go to Edit > Paste as New Layer.
- Go to File > Save and save your image.
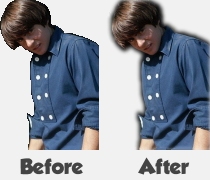
Glowing Edges Example
